Troubleshooting garage door issues can be a daunting task for homeowners. From stuck doors to noisy operations, various problems can hinder the functionality and safety of your garage door. However, armed with the right tools and a systematic approach, most common garage door problems can be diagnosed and resolved. This comprehensive guide walks you through essential steps for troubleshooting your garage door, covering everything from checking the power supply and inspecting tracks to adjusting sensors and dealing with remote control issues. By following these steps, you’ll be equipped to tackle a wide range of garage door malfunctions, ensuring smooth operation and maintaining the security of your home.
Step 1: Checking Power Supply
Checking the power supply is the first step in troubleshooting any garage door issues. Before diving into the mechanical aspects, it’s important to ensure that the door is receiving the necessary power to function properly.
To check the power supply, start by inspecting the power cord and outlet. Make sure that the power cord is securely connected to both the door opener and the outlet. If the cord is damaged or frayed, it may need to be replaced. Similarly, check the outlet to ensure that it is functioning correctly and providing power.
If the power cord and outlet are in good condition, the next step is to check the circuit breaker or fuse box. Sometimes, a tripped circuit breaker or blown fuse can cause power interruptions. Locate the breaker or fuse associated with the garage door opener and check if it has been switched off or blown. If this is the case, simply reset the breaker or replace the fuse. By checking the power supply first, you can rule out any simple electrical issues that may be causing the problem. If the power supply is not the culprit, it’s time to move on to the next step and inspect the garage door tracks.
Step 2: Inspecting Garage Door Tracks
Garage door tracks play a crucial role in the smooth functioning of your garage door. Inspecting them regularly is essential to detect any issues that can hinder the door’s performance. Damaged or misaligned tracks can cause the door to become stuck or operate unevenly, posing safety risks and damaging the door opener.
To begin inspecting the tracks, ensure that the door is fully closed. Look for any dents or bends in the tracks that may obstruct the door’s movement. Use a flashlight to carefully examine the tracks for any debris buildup, such as dust, dirt, or small objects. These obstructions can impede the door’s smooth sliding motion. If you spot any blockages, gently remove them using a soft cloth or a brush. Additionally, check that the tracks are securely fastened to the walls. Loose tracks can result in misalignment and affect the door’s overall functionality.
Step 3: Examining Garage Door Springs
Garage door springs play a crucial role in the smooth operation of your garage door system. These springs are responsible for counterbalancing the weight of the door, making it easier to open and close. Over time, however, the springs can wear out or become damaged, leading to various issues with your garage door.
One of the common problems that can occur with garage door springs is breakage. When a spring breaks, it will typically make a loud noise and cause the door to become unbalanced. This can make it difficult or even impossible to open or close the door manually. In some cases, you may notice that the door only opens partially or doesn’t open at all when there is a broken spring.
Another issue that can arise with garage door springs is tension loss. Springs are designed to provide a certain amount of tension to support the weight of the door. However, over time, they can lose their tension, causing the door to sag or not stay in the fully open or closed position. This can create a safety hazard and may require adjusting or replacing the springs.
Examining your garage door springs regularly can help identify any issues before they escalate. Look for signs of wear, such as rust, cracks, or gaps between the coils. If you notice any of these signs or suspect a problem with your springs, it is best to seek professional help to avoid any potential safety risks. Taking care of your garage door springs will ensure that your door continues to function properly and provide you with secure and convenient access to your garage.
Step 4: Testing Garage Door Opener
The garage door opener is a critical component of your garage door system, as it is responsible for the smooth opening and closing of the door. When faced with a malfunctioning garage door opener, it is important to test it thoroughly to determine the root cause of the problem.
To test your garage door opener, start by pressing the wall button to see if the motor activates and the door starts moving. If the door does not respond, there could be an issue with the power supply or the opener itself. Check the power cord for any damages and ensure that it is plugged in securely. If the power supply is fine, you may need to consult a professional to inspect and repair the garage door opener.
Additionally, it is important to test the remote control for the garage door opener. Replace the batteries and try operating the door from a different location. If the remote control still doesn’t work, there may be a problem with the sensor or the receiver. In some cases, simply reprogramming the remote control can resolve the issue. If troubleshooting the remote control doesn’t yield any results, it is best to seek professional assistance to diagnose and fix the problem with the garage door opener.
Step 5: Lubricating Moving Parts
Lubricating the moving parts of your garage door is an essential step in its maintenance. Over time, the constant movement and exposure to different weather conditions can cause these parts to become stiff or rusty, leading to increased friction and potential damage. By regularly applying lubrication, you can minimize wear and tear, extend the lifespan of your garage door, and ensure smooth and quiet operation.
When it comes to lubricating moving parts, there are a few key areas that require attention. Start by applying a silicone-based lubricant to the hinges and rollers. These components enable the smooth movement of your garage door as it opens and closes. Using a cloth or a small brush, spread the lubricant evenly, making sure to cover all surfaces.
Additionally, don’t forget to lubricate the springs and bearings, as these parts also experience a significant amount of stress. However, keep in mind that lubrication alone may not resolve all issues. If you notice any squeaks, grinding sounds, or difficulty in opening or closing the door, it may be necessary to seek professional assistance for a more thorough inspection and repair if needed.
Step 6: Adjusting Garage Door Sensors
Adjusting garage door sensors is an important step in troubleshooting and ensuring the smooth operation of your garage door. These sensors are responsible for detecting obstructions and preventing the door from closing on them.
Over time, they can become misaligned or dirty, causing them to malfunction. To adjust the sensors, start by inspecting their alignment. The sensors are usually located on both sides of the garage door, near the bottom. Make sure that they are facing each other and that their beams are unobstructed. If they are misaligned, gently adjust their position until the beams are perfectly aligned.
Next, check for any dirt, dust, or debris that may be blocking the sensors. Clean them using a soft cloth or a mild cleaning solution to ensure that they are free from any obstructions. After cleaning, recheck their alignment and make any necessary adjustments.
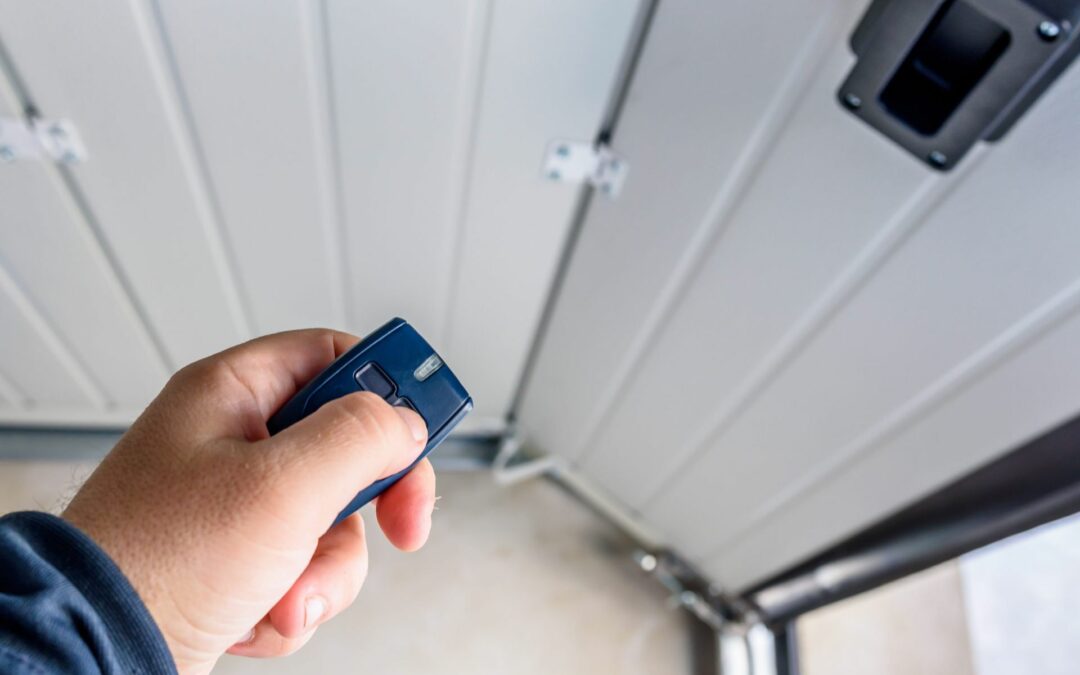
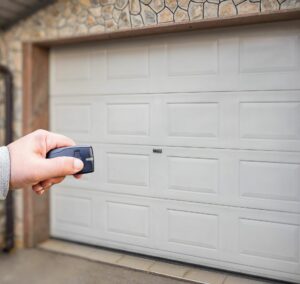
Step 7: Troubleshooting Remote Control Issues
Troubleshooting remote control issues is an important step in ensuring the smooth operation of your garage door. When your remote control fails to function properly, it can be frustrating and inconvenient. However, with a few simple steps, you can quickly identify and resolve the problem.
Firstly, check if the batteries in your remote control are working properly. Sometimes, the issue may be as simple as a dead or weak battery. Replace the batteries and test the remote control to see if it begins to work again. If the problem persists, ensure that the remote control is within range of the garage door opener. Obstructions or interference can affect the signal transmission, so try moving closer to the garage door before pressing the remote control button.
Secondly, inspect the remote control for any physical damage. Dropping or mishandling the remote control can cause it to malfunction. Look for any visible cracks, dents, or loose buttons. If you notice any damage, it may be necessary to replace the remote control. Additionally, check the contacts inside the battery compartment to ensure they are clean and free of corrosion. Dirty or eroded contacts can interfere with the proper functioning of the remote control.
Troubleshooting remote control issues is an essential part of maintaining a functional and efficient garage door system. By checking the batteries, ensuring proper signal transmission range, and inspecting for physical damage, you can usually resolve most remote control issues on your own. However, if the problem persists or you are unable to identify the cause, it may be advisable to seek professional assistance.
We Will Help Troubleshoot Your Garage Door
If you’ve gone through these troubleshooting steps and still find your garage door malfunctioning, it might be time to call in the professionals. Specialized garage door technicians have the expertise and tools to diagnose complex issues, perform safe repairs, and recommend upgrades if necessary. Don’t let garage door problems compromise the security and functionality of your home. Contact us today to get your door back in top shape, ensuring peace of mind and the continued convenience and safety of your household.